How to make a zine!
At the beginning of 2024, I started a creative project that gave other artists the ability to workshop with me one-on-one on a series of artworks, honing in on their art style. These individual workshops turned into a collaborative zine, and are now available on my website as a digital or print friendly product!
One thing I discovered whilst doing some research into zines is that you can print, fold and cut an A4 sized paper into lots of different ways. I want to share with you a few different ways you can make a zine from the scrap materials in your home.
But first, some background:
Zines came about around the 1940s as a fan response to science fiction books, which then evolved into a form of media for political movements.
Today, zines are a popular and quick art form for personal creativity, political movement, story telling or picture books. My personal favourite is collaging to create a series of meaningless artworks, regardless of theme, just for the sake of wanting to create something. I find it invigorating, how we need to create useless things in order to find clarity within ourselves. And I find myself looking back at them for inspiration.
I’ll take it easy on the philosophy now.
I’m going to share with you three different styles of zines that I’ve learnt from the internet and fellow artists:
The Dwelling Zine
For the DwellingZine publications, I found two different styles to fold a zine, depending on how many pages and artworks the artist wanted to share. I created a guide that came with the PDF package to make it easy to follow along.
They’re pretty straightforward, only requiring an A4 sized piece of paper.
The following guide is for a ten page zine.
Take your A4 paper, and fold it in half both ways.
On the short side, fold it in half again. When you unfold it, it should have eight panels.
It helps to fold the paper both ways (back and front) to make things easier later on.
Take your scissors, and cut the middle fold on the bottom long side, only to the mid-point!
Then cut along the middle fold, length ways, along two panels. The visual above shows a dotted line of where you need to cut.
Fold the paper back, length ways. Pinch the sides together and push inward until the middle forms an open diamond. Keep pushing until all the middle points meet together, and fold it around itself to make a little book.
And you’re finished! This zine creates a ten page zine, and opens easily for you to flip inside out and continue along the backside pages.
DwellingZines are edited on InDesign, but this folding style can be used for drawing and collaging however you please.
An accordion zine (with a hardcover)
This style of zine is easy to make, but might need some extra material hunting.
An accordion zine is made by folding a long piece of paper back and forth as many times as you like, but for the cover, you can use sturdy cardboard, an old book cover, or I chose to use the back board from a sketchbook.
Cut the cover to your desired shape, then decorate!
I attended a workshop by Donna Caffrey (artist of DwellingZine #4), and she offered us old pieces of fabric to decorate our covers, and simply glued it on with PVA.
The accordion zine has to fit the size of the cover. The cover is 10x10cm, and the zine is 8x75cm.
With PVA, I glued one end of the zine to the front cover, and the other end of the zine to the back cover.
This kind of zine can be opened up on either side, and used in any way.
A scrapbook zine
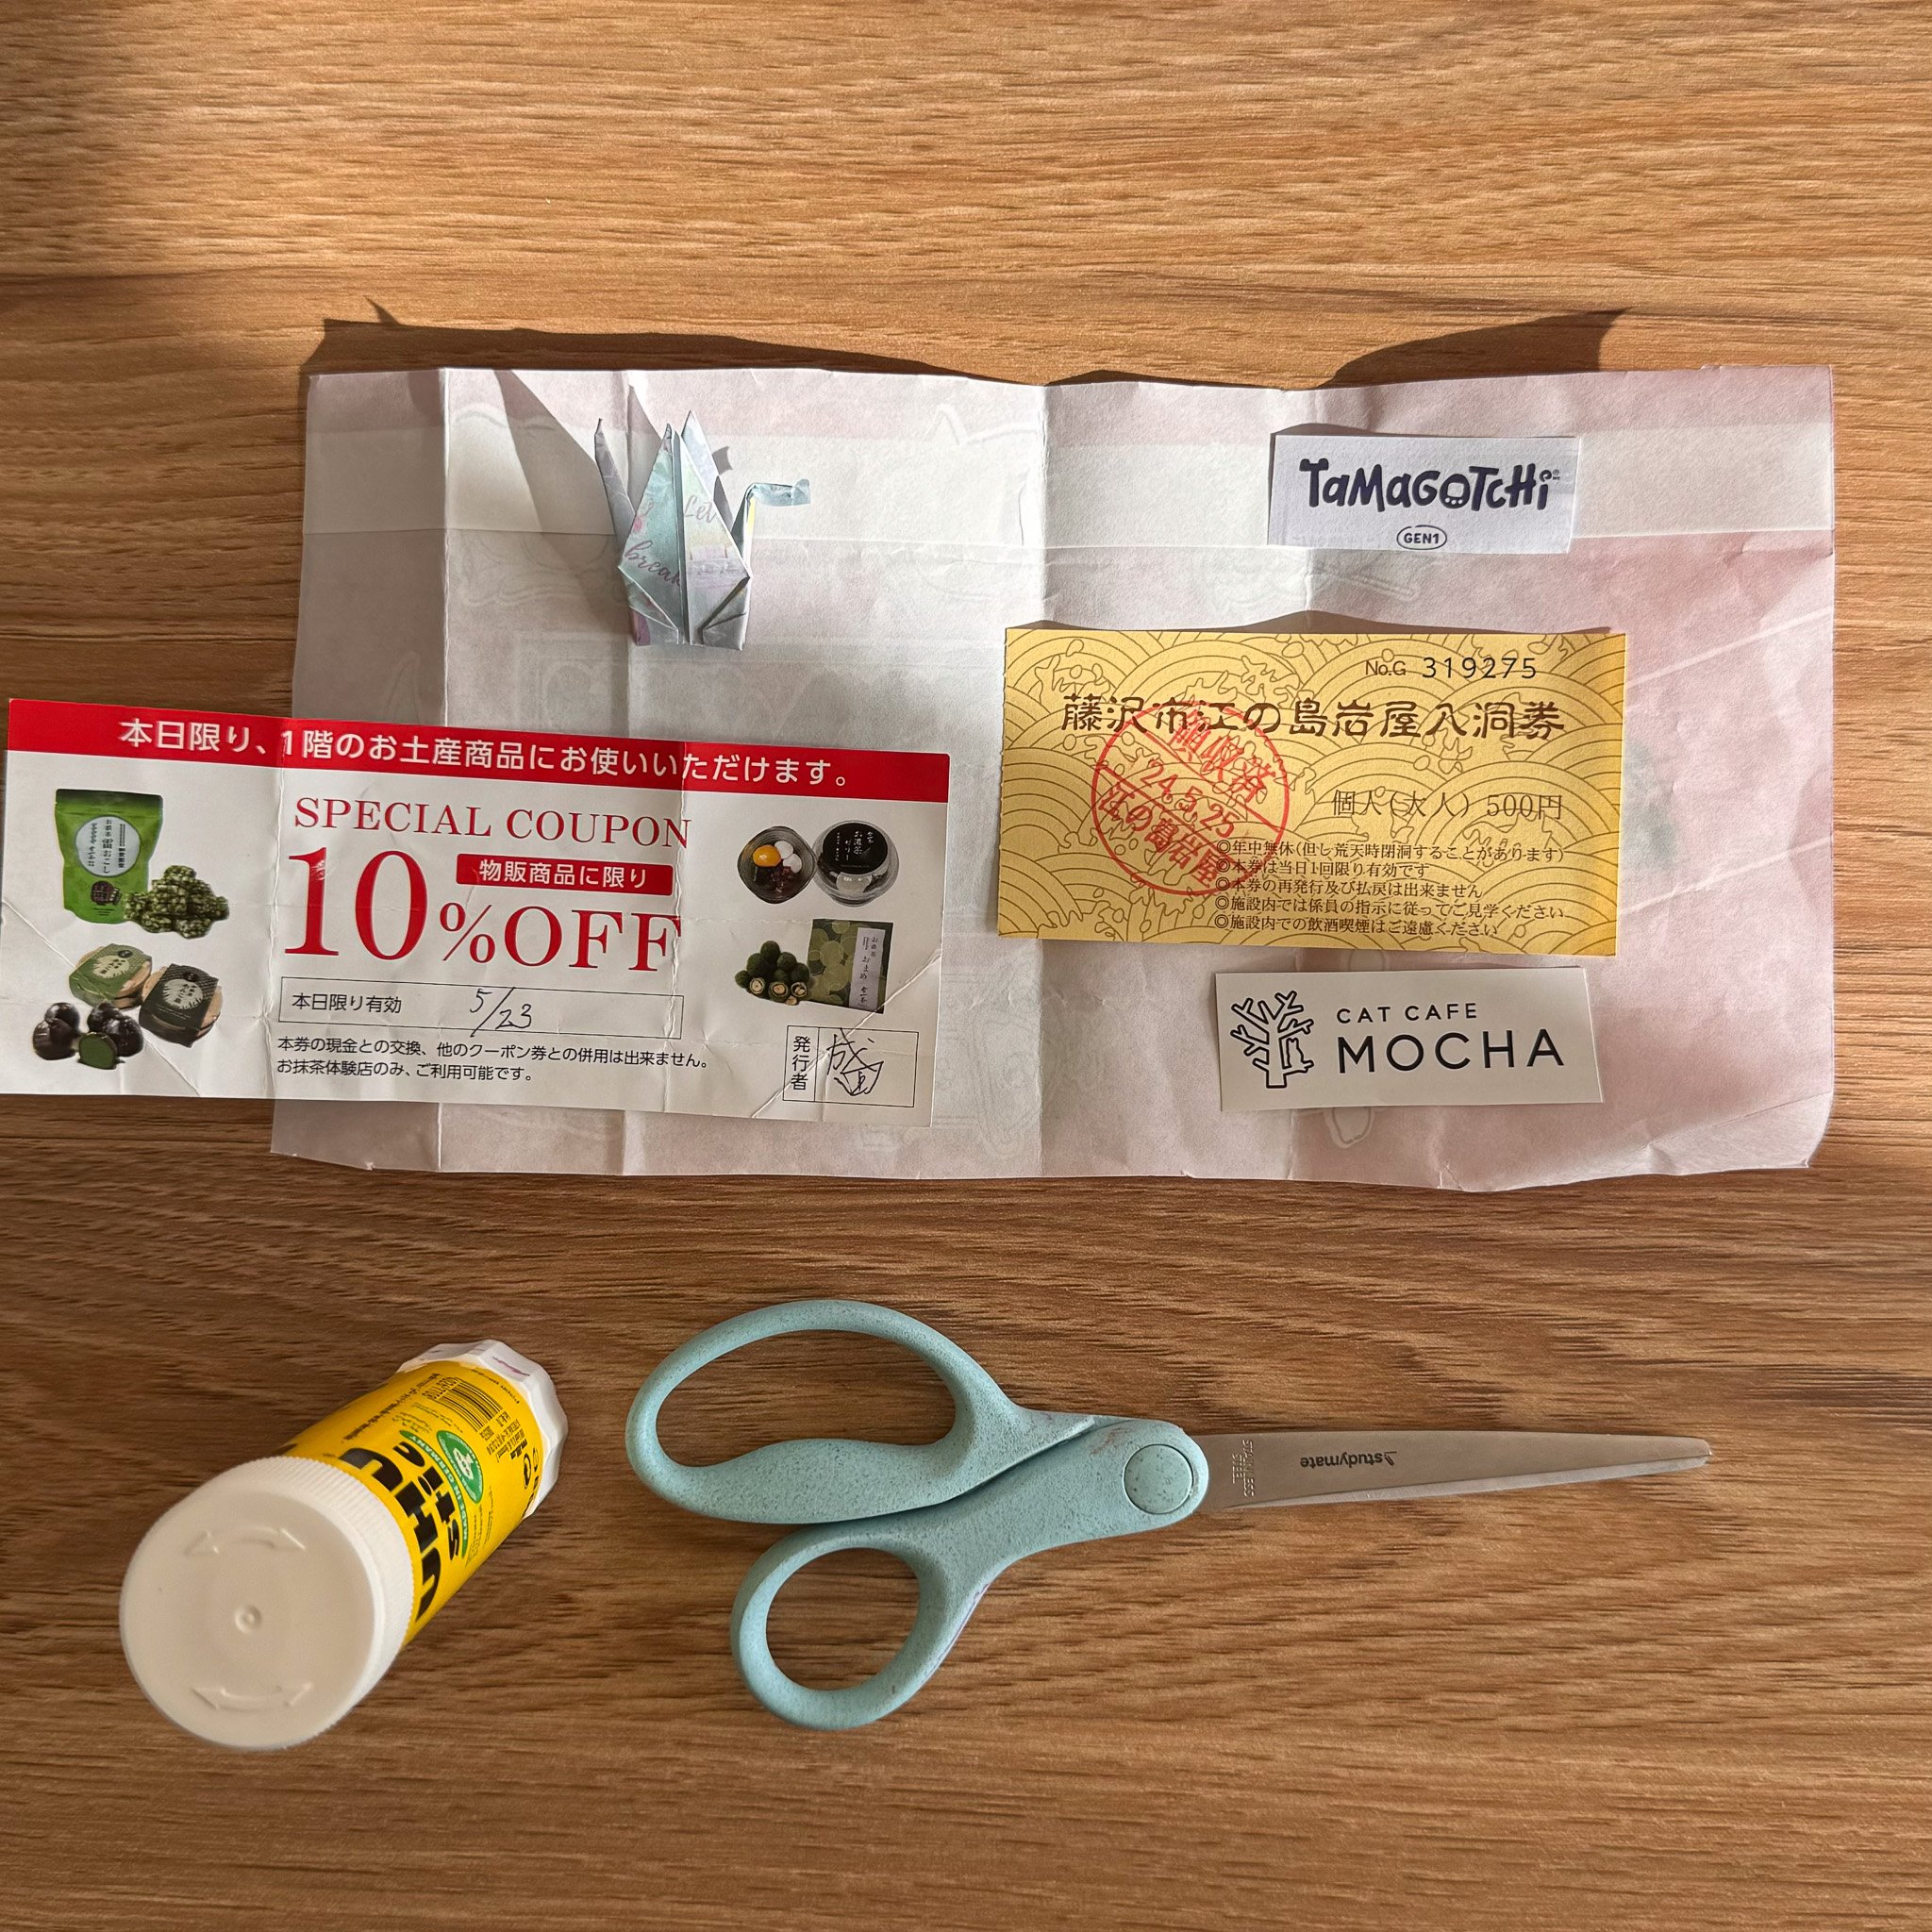
I have a lot of memorabilia leftover from my trips to Japan that are just sitting in a bag in my studio, and I haven’t known what to do with it all, until now!
You’re welcome to use whatever scrap pieces you have in your home, all you need is a glue stick, scissors, and your choice of binding tools.
I’m going to use the maps, brochures, tickets and stickers I collected and stick them together to create individual pages and bind them together.
I find that collaging is a very intuitive process, and because this is made from scrap pieces, the zine is going to turn out pretty random. Make sure to arrange your pieces where you want them before gluing them down.
For binding, you’ll need a needle, thread, and I highly recommend using bulldog clips to help keep the pages firmly together.
This video here has a great demonstration on how to Coptic Stitch, which is how I (very roughly) bound my scrap pages together:
And now you have a scrapbook, bound zine!
Make sure to check out the Zine Shop to buy yourself a zine, and here’s a cheeky discount code for you: ZINE25
Or if you’re interested, let’s chat about working on a zine project together!
Thank you for being here 💛
Danielle J. France
artist, writer, editor


